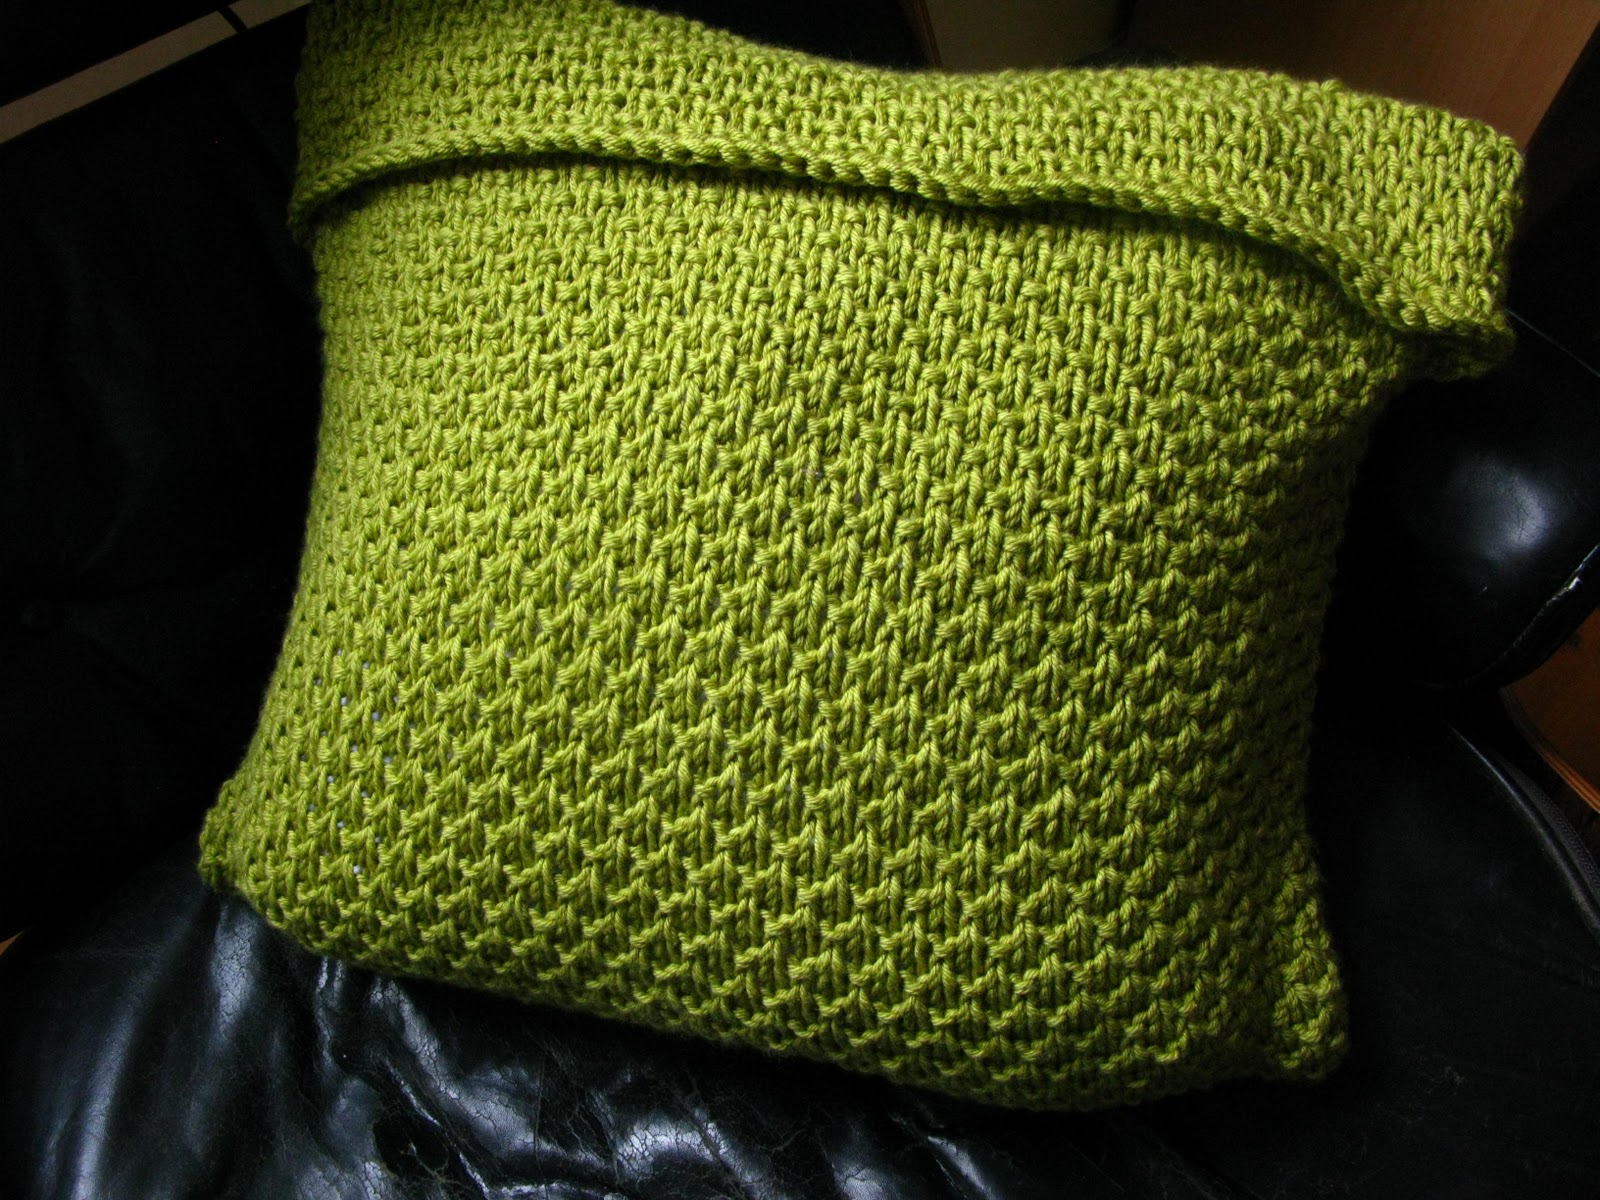
A
cute cushion cover that knits up quickly using chunky pencil roving.
This is a simple knit which uses a couple of clever techniques to
give a neat finish. You cast on using a figure-8 cast on so there is
no seam at the bottom. Then you use a three-needle bind off at the
top with the cushion pad inside so there is no seaming at all. This
is a quick knit that would make a great housewarming gift, maybe knit
up two or three in complementary colours.
Yarn:
Corriedale
Pencil Roving
2
x 200g skeins at 130m/143yds per skein
Gauge:
8.5sts and 11 rows = 10cm in stocking stitch with 10mm/US 15 needles
Needles:
One 10mm/US 15 100cm/40”
circular
needle for working magic loop, one spare straight needle.
Extras:
Two stitch
markers, crochet hook for weaving in ends, one 40cm x 40cm cushion
pad
Dimensions:
To
fit a 40cm x 40cm cushion pad.
Notation:
k
= knit
p
= purl
pm
= place marker
slm
= slip marker
ssk
= slip two stitches knitwise onto right hand needle, then knit them
together with left hand needle.
k2tog
= knit the next two stitches together.
s
= slip purlwise

Instructions
Cast
on 72 stitches using a figure 8 cast-on, with 36 stitches on each
side of the needle. Place marker for beginning of round, and one 36
stitches from the beginning of the round to mark the halfway point.
Work
stockinette stitch in the round ( i.e. knit every round) using magic
loop method, until the cushion measures 42cm from cast on. Your
cushion pad should fit comfortably inside the cover, without the need
to stretch it. Put the cushion inside the cover now, and we will bind
off with it inside.
Starting
from the beginning of the round, we'll cast off stitches using a
three-needle bind off. A youtube video showing how to work the
three-needle bind off can be found here.
However, instead of having stitches on two dpns, we will be knitting
together stitches from the two points of you circular needle, and
rather than turning the work so that the right sides are facing, we
will continue with the two wrong sides facing in. This will leave a
ridge at the top which makes a cute feature.
Written
instructions for the three-needle bind off are as follows:
Remove
stitch marker for beginning of round. Push the first and last
stitches in the round to the tips of the needle points, then knit
these two stitches together with your spare straight needle.
Push
the second and second from last stitches in the round to the ends of
the needles, and knit these two stitches together using your spare
straight needle.
Slip
the original stitch on your straight needle over the stitch you've
just worked, as in a normal bind off.
Continue
this process: knit the next two stitches at the tips of your circular
needle together, then pass the previous stitch on your straight
needle over this one.
When
you reach the last stitch on your straight needle, cut the yarn
leaving a 20cm tail, pass this through the loop on your straight
needle and pull it tight.
Thread
the loose ends into the cushion cover using your crochet hook and
you're done!

And a quick plug: Queen's Park Cardigan is now available to purchase on Ravelry, Craftsy and in my Etsy shop.

It's a fitted cardigan with a flattering
drape front in a pretty lace pattern. This is a simple but stunning
knit that could be dressed up or down. Queen's Park Cardigan is
knitted from the top down with set in sleeves, neat twisted rib
edgings and an oversized blanket front. Using sportweight yarn on
larger than normal needles and blocking creates an airy fabric with
beautiful drape. The lace pattern is simple and suitable for a first
lace project, with only a four row repeat. Instructions for 8 sizes
are given: to fit bust 28-30 (32-34, 36-38, 40-42, 44-46, 48-50,
52-54, 56-58)”.