Friday, 23 September 2011

Rainclouds and Forest Walks

Here in Scotland, Summer has been over for a while now (since June if you're interested), so I'm thinking it's high time to break out the autumnal knitting patterns. And here they are! Both are knitted up in Shilasdair Luxury DK, which is an absolutely gorgeous yarn naturally dyed on the Isle of Skye. It's fantastic value too, the skeins are giant!

Raincloud cardigan knitting pattern by Littletheorem, quick easy knit cardigan


First up is the Raincloud Cardigan. I really love this one, it has become my number one wardrobe staple. I am glued to it. It's cosy, but the single fastening and three-quarter length sleeves mean you don't overheat. It's available to purchase for $3 from Ravelry and my Etsy shop. Sizing details can be found there too.

Raincloud cardigan knitting pattern by Littletheorem, quick easy knit cardigan


Raincloud cardigan knitting pattern by Littletheorem, quick easy knit cardiganRaincloud cardigan knitting pattern by Littletheorem, quick easy knit cardigan


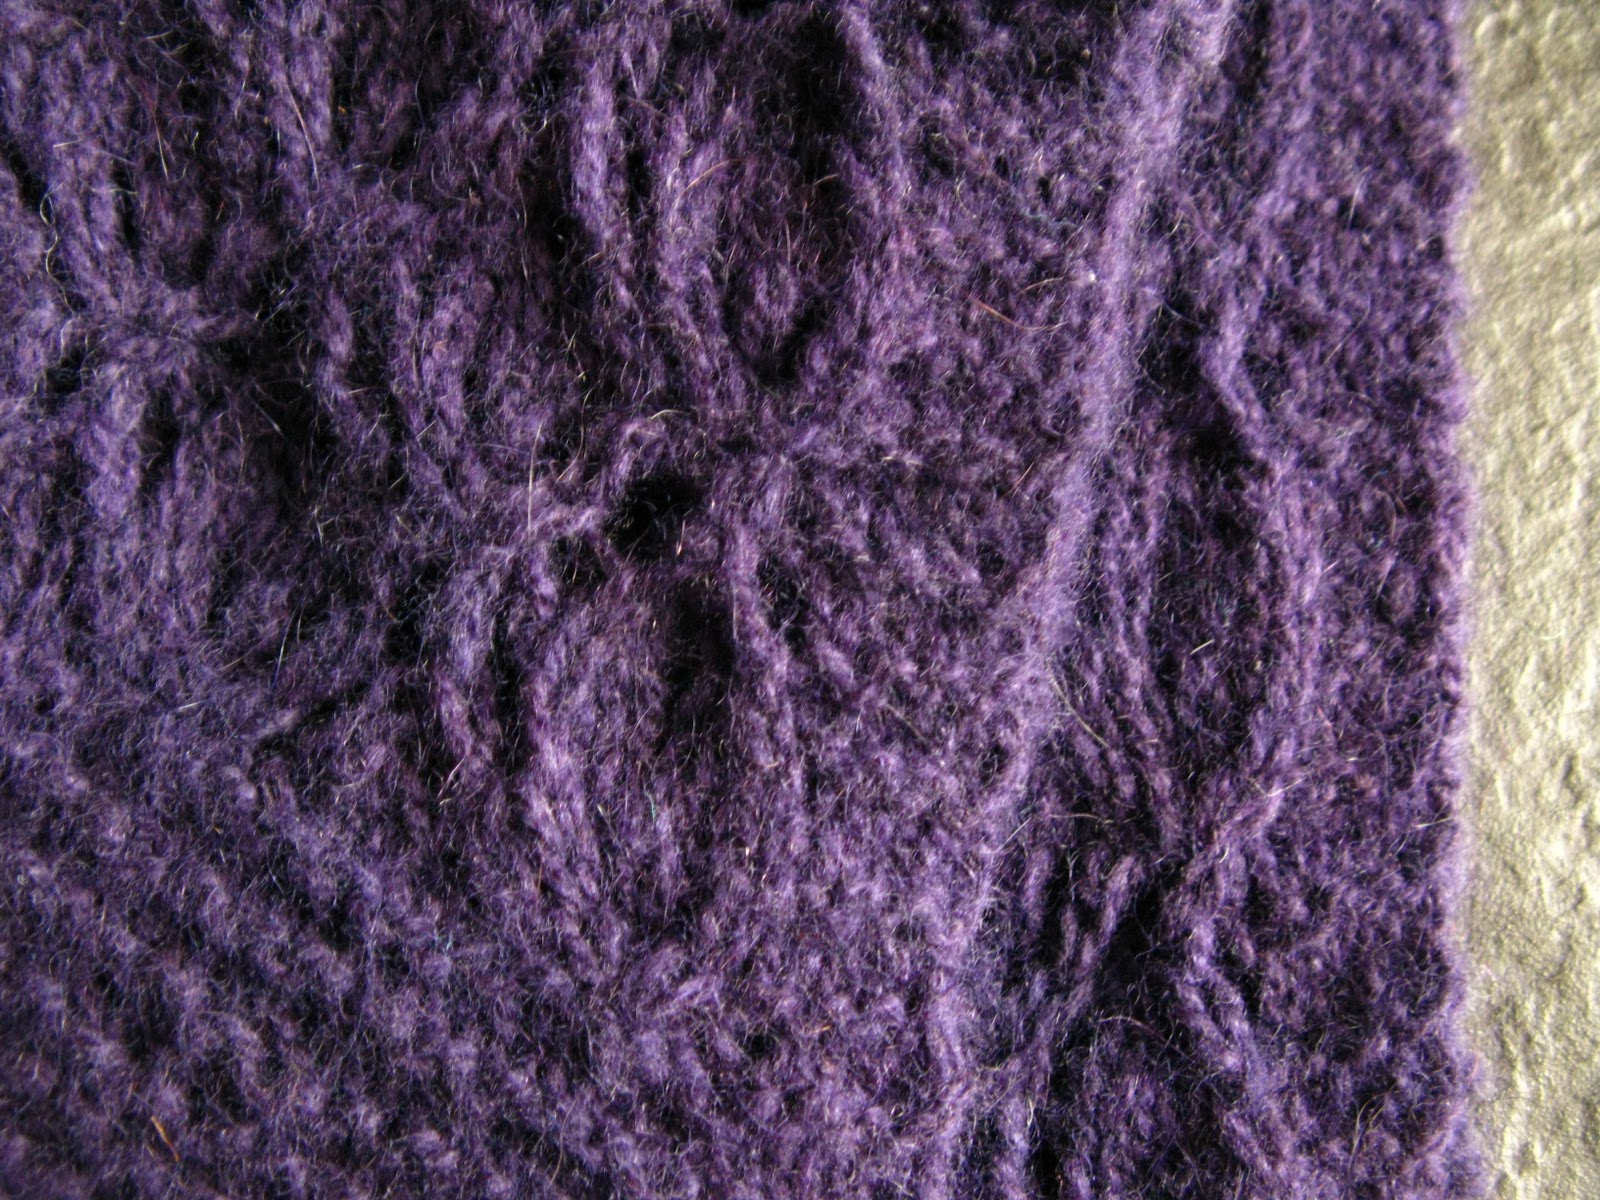
Next there's my Forest Walk scarf. I knitted this one up as a birthday present for a friend. It's a quick knit but looks very impressive. It uses just over one skein of the Shilasdair luxury DK, but you could squeeze one out of a single skein. My version is around 6 feet long so it'd be fine to make it a bit shorter. I made both the cardigan (smallest size) and the scarf from 3 skeins. Again, it's available to purchase from Ravelry and my Etsy shop.

Forest walk scarf knitting pattern by Littletheorem, quick easy knit lace scarf

Forest walk scarf knitting pattern by Littletheorem, quick easy knit lace scarf


Forest walk scarf knitting pattern by Littletheorem, quick easy knit lace scarf


Friday, 9 September 2011

Cocoa Wrap


An easy wrap pattern that's quick to knit in chunky yarn. The slipped stitches make the fabric extra dense. This is sure to keep you cosy when you're curled up with your cocoa! The wrap pictured was knitted with my own handspun Bluefaced Leicester yarn, but Rowan Purelife British Sheep Breeds Chunky is the correct gauge and would be just as nice. Pattern is available to download from Ravelry.


Yarn : Five skeins Rowan Purelife British Sheep Breeds Chunky = 550m in total.


Needles :  5mm/US 8 straight needles

Gauge:  14sts = 4" in stocking stitch

Size: 12" x 60"

Notation: 
k = knit
p = purl
sl = slip 
kw = knitwise
pw = purlwise
CO = cast on
RS = right-side
WS = wrong-side


Twisted Slip Stitch Rib Pattern:
Row 1: sl1 pw, *p1 k1* to end of row (don't "untwist" twisted stitches by knitting into the back of them!)
Row 2: sl1 pw *k1 sl1 kw with yarn held forward* to last two stitches, k2


Directions:

CO 61 stitches. Work in Twisted Slip Stitch Rib Pattern until wrap measures 60", ending on row 1 of pattern. Bind off all stitches on wrong side. Weave in any loose ends and you're done!


Sunday, 4 September 2011

Embroidered Armwarmers


Cute armwarmers in extra soft yarn with some folk-style embroidery. I found this embroidery technique in “Needle Lace Techniques and Inspiration” by Jill Nordfors Clark. It’s a beautiful book with instructions for some amazing needlework. This pattern is also available to download free from my Ravelry Store

Yarn : Rowan Lima, one 50g ball ( = 100 metres/109 yards). 

Needles : Four 5mm/US 8 dpns.

Gauge: 18sts = 4" in stocking stitch.
Size: One size fits all, 26cm long.

Notation: 
k = knit
p = purl
sl = slip purlwise
CO = cast on


Directions:
To make armwarmers: Cast on 27 stitches over 3 dpns and join in the round. Work in k2 p1 rib for 6 rows. Now work in stocking stitch (i.e. knit every row) for 13cm. Make thumb hole as follows:

Row 1: sl1, knit to end of row, turn.
Row 2: Don’t continue working in the round, but on WS of armwarmer sl1, purl to end of row, turn.

Work these last two rows three more times. Next row: sl1, knit to end of row. To end the thumb hole: don’t turn your work at the end of this row, but start working stocking stitch in the round again. Keep going in stocking stitch for 6cm more (total length of armwarmer should be 24cm). Now work garter stitch in the round for 4 rows, i.e. purl the first row, knit the second, purl the third and knit the fourth. Now bind off all stitches and weave in loose ends. Make two armwarmers. 


Embroidery:
Step 1: Choose four colours of embroidery thread, number them one to four:


Step 2:  Lay the first armwarmer out facing upwards and thread your embroidery needle with thread colour 1. The stocking stitch fabric is made up of rows and columns of little upside-down v’s. Find the 6th row down from the garter stitch band at the top of your armwarmer and bring your needle up through the fabric just to the left of the second little upside-down v in the row.


Step 3: Now find the upside-down v two rows up and one column to the right. Bring your needle from right to left under the upside-down v and out the other side.


Step 4: Find the upside-down v two rows down and one column to the right. Bring your needle from right to left under the upside-down v and out the other side.


Step 5: Repeat the last two steps until you get to the other side of your armwarmer (don’t worry too much if it’s a little messy, the next few steps will neaten it up).


Step 6: Thread your embroidery needle with thread 2, bring it up through the armwarmer just above where you started with thread 1.


Step 7: Bring the thread under the first stitch in thread 1 from bottom to top.


Step 8: Bring the thread under the next stitch in thread 1 from top to bottom.


Step 9: Bring the thread under the next stitch in thread one from bottom to top.


Step 10: Repeat the last two steps until you get to the last stitch in thread 1. Bring the needle through to the back of the armwarmer to match the other side.


Step 11: Repeat this process three rows below using threads 3 and 4, and once more three rows below that using threads 1 and 2 again.


Step 12: Secure all loose threads at the back. There shouldn’t be anything to catch your hand on when you put the armwarmer on.


Now repeat for the other armwarmer. Make sure that the thumbhole is one the other side for the second one!

Sunday, 28 August 2011

Green Lace

Here's a wee pattern update: two new "for sale" patterns up on Etsy and Ravelry. First up is my Garden Party Cardigan. It's a light and floaty laceweight cardigan with a floral edging.


I made this to wear for a friend's wedding, it knits up surprisingly quickly given that it's laceweight. The yarn is Dyeforyarn's Lace / Tussah Silk, available on Etsy. This is a really special laceweight yarn available in a huge range of colours. You can buy this pattern on Ravelry or on Etsy.

The second pattern is a lacy hat pattern, perfect for Autumn.


The hat pictured is made with my own handspun, handdyed Bluefaced Leicester yarn, but I’ve suggested two commercially available yarns that would be fine too: Knit Picks Palette and Rowan Pure Wool 4-ply. If you want me to spin you up some yarn for this pattern though, just let me know! Again you can buy this pattern on Ravelry and Etsy. Thanks for looking!

Monday, 25 July 2011

Speedwell Scarf


Naming patterns is hard. I really struggle to think of a name that "suits" the pattern. I've picked up a habit lately of naming things after places that I associate with the pattern, but I worry that these names won't resonate with many people. So, I'm moving on to wildflowers (mainly because I picked up a secondhand collins-gem guide recently...) 


And here's the latest scarf pattern. It's a lovely bright blue, so, I look at the index for blue flowers and find sheep's scabious, viper's bugloss and speedwell. I think it's got to be speedwell: this pattern isn't really edgy enough to be called "viper's bugloss scarf"....


Yarn : Regia Hand-Dye Effect, 1 ball (=420m)

Needles :  4.5mm/US 7 needles

Gauge:  20sts and 28 rows in stocking stitch
Size: 6" x 52"

Extras: Four buttons.

Notation: 
k = knit
p = purl
sl = slip purlwise
wyf = with yarn held forward
wyb = with yarn held back
CO = cast on
RS = right-side
WS = wrong-side


Directions

Garter Slip Stitch Pattern:
Row 1(RS): knit
Row 2: knit
Row 3: k1 *sl1 wyb, k1* to end of row
Row 4: k1 *sl1 wyf, k1* to end of row
Row 5: knit
Row 6: knit
Row 7: k2 *sl1 wyb, k1* to last stitch, k1
Row 8: k2 *sl1 wyf, k1* to last stitch, k1


To make scarf: CO 45 stitches. Work in Garter slip stitch pattern until scarf measures around 50", ending on row 8 of the pattern (a wrong-side row). Now work in garter stitch (i.e. knit every row) for 10 rows, again ending on a WS row. Work buttonholes as follows:

Buttonhole Row: k3 k2tog yo k10 k2tog yo k11 yo ssk k10 yo ssk k3.

Now work 8 more rows of garter stitch, ending on a RS row. BO all stitches on WS. 

Sew four buttons on the RS of the scarf, equally spaced about 1" up from the CO edge. Weave in any loose ends and you're done!


Sunday, 3 July 2011

What to do with art yarn...


So, those of you who follow this blog will be aware that I've been spending a lot of time spinning and dyeing lately (at the expense of coming up with new knitting patterns, sorry about that!) And now that I've spun up a large pile of beautifully coloured yarn, I need to come up with something to do with it. This is a tricky task for all those early skeins of thick-n-thin "art yarn" that I've amassed. And here's what I came up with, a one skein cowl made from my handspun merino. It's a little crazy looking, but that's kind of a given if you're working with art yarn. Also, if you like the colour but are looking for a more sensible yarn, there's a skein of bluefaced leicester yarn in my Etsy shop in the same colourway.


Needles : 10mm / US 15 needles.

Yarn: 100 -150m or so of thick and thin art yarn (check out Etsy for handspun, thick n thin goodness!)

Gauge:  15 sts = 4'' in stocking stitch on average (but with thick and thin yarn gauge varies).
Size:  21'' around and 8" across

Notation: 
k = knit
p = purl
sl = slip purlwise
wyb = with yarn held at the back of your work
wyf = with yarn held to the front of your work
CO = cast on


Directions

Garter Slip Stitch Pattern
Row 1: knit
Row 2: knit
Row 3: k1 *sl1 wyb k1* to end of row
Row 4: k1 *sl1 wyf k1* to end of row
Row 5: knit
Row 6: knit
Row 7: k2 *sl1 wyb k1* to last stitch, k1
Row 8: k2 *sl1 wyf k1* to last stitch, k1


To make the cowl, CO 29 stitches. Now work in garter slip stitch until your work measures just over 20", ending on row 8  of pattern. Knit one row, then bind off on wrong side. Turn cowl onto wrong side and sew cast on edge to bind off edge using whip stitch (art yarn looks crazy enough that you'll never notice the seam). Weave in loose ends and you're done!

Now for the shameless advertising. There's a couple of skeins in my Etsy shop that I think would be perfect for this, although they're not as crazy as some art yarns, they'd give you a more wearable cowl. There's a lovely blue skein here, and a white skein for all you dyers out there here.