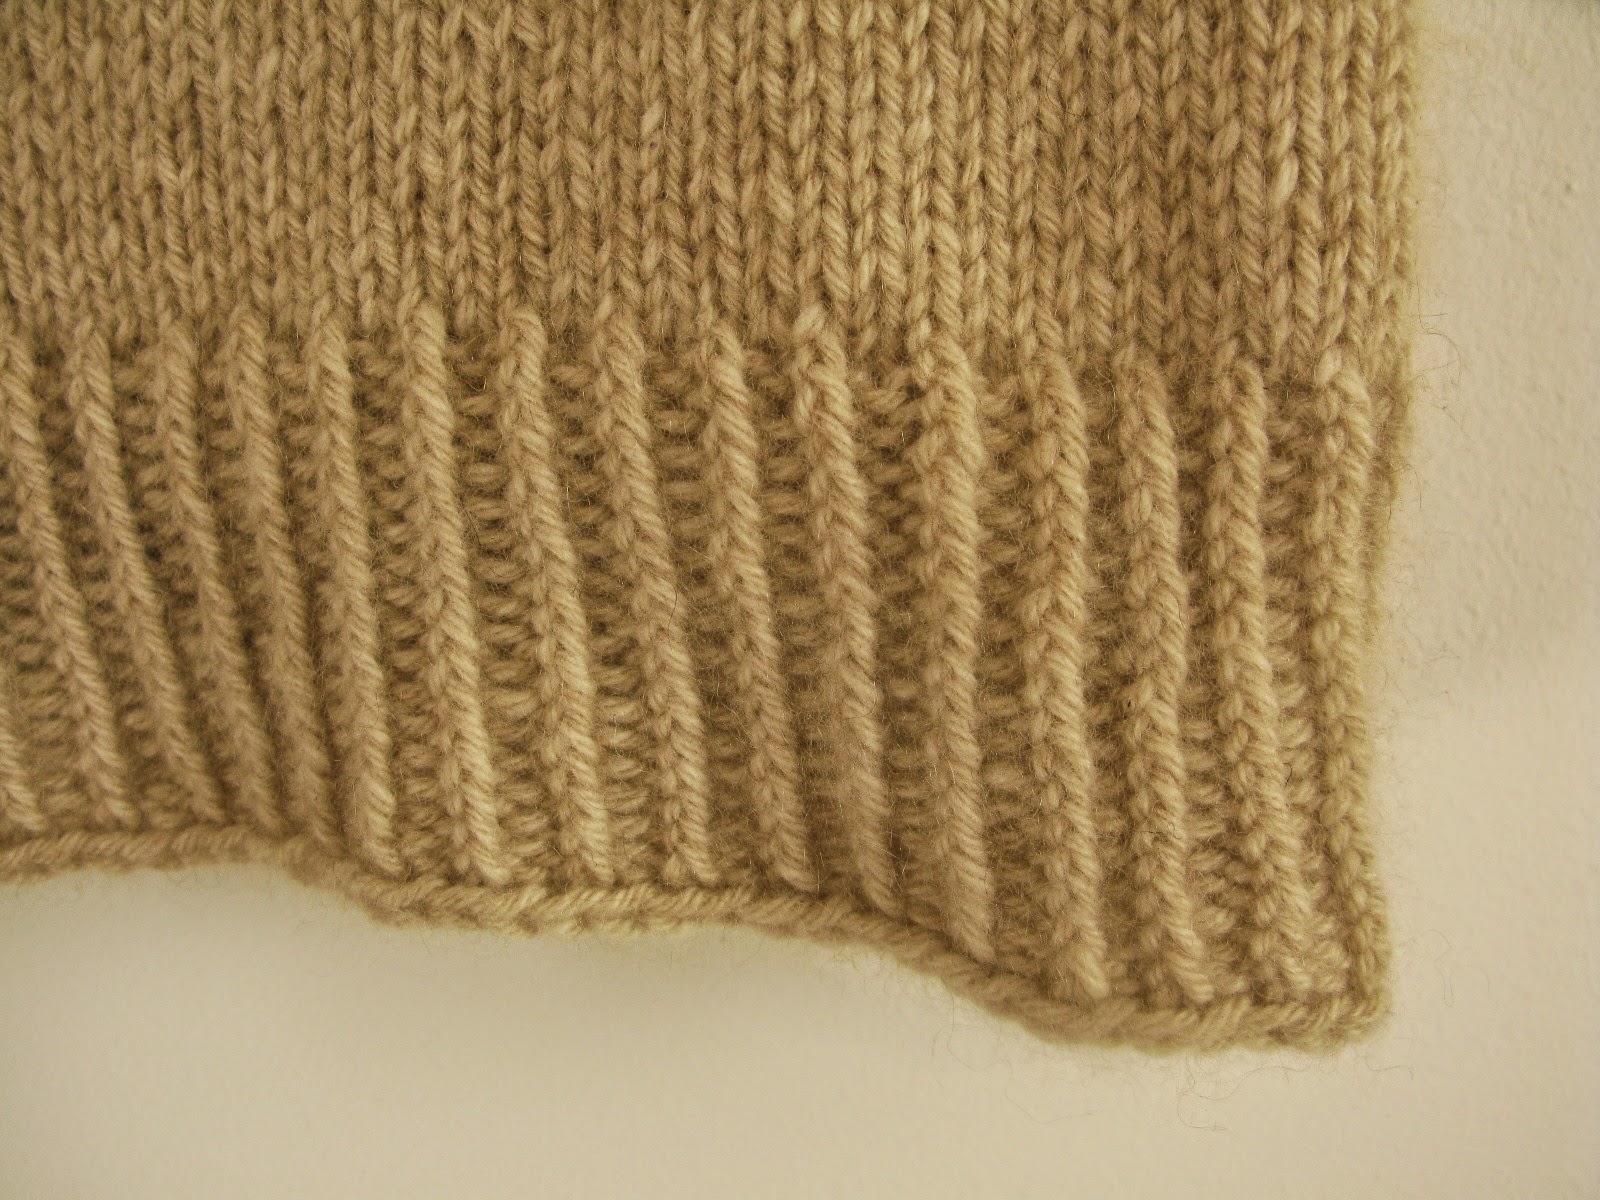
Please note: this pattern is now available to download as a pdf from Craftsy for $2. It will still be freely available on this blog, but I thought people might want the opportunity to download a pdf version.
Supercute ladies mitts in an amazingly lovely yarn!
Yarn : K1 Yarns Selkie, 30% Cashmere, 70% Superwash Merino. Less than one 50g ball (= 217m).
Needles : One pair 3 3/4 mm (US 5) and two cable needles.
Gauge: 26 stitches = 10cm in stocking stitch.
Size: One size fits all ladies!
Notation:
k = knit
p = purl
CO = cast on
k2tog = knit two stitches together
k2tog tbl knit two stitches together through the back of the loops
k1fb = knit into the front of the next stitch without slipping it off the left needle, then knit into the back
sl = slip
wyif = with yarn in front
RT = right twist = k2tog without slipping stitches off the left
needle, knit into first stitch again, then slip both stitches off left hand needle
CN = cable needle
X5 = slip first stitch onto CN and hold at the front of your knitting, the slip the next three stitches onto a second CN and hold at the back. Knit the next stitch, then the three from the second CN, then knit the stitch from the first CN.
Directions
Fisherman's Rib
Row 1: p1 *k1 p1* to end
Row 2: k1 * sl 1 wyif k1* to end
Cable Pattern:
Row 1: p2 k2 sl1 k2 p1 k1 p1 k1 p1 k2 sl1 k2 p2
Row 2: RT p2 k1 p2 k2 p1 k2 p2 k1 p2 RT
Row 3: as row 1
Row 4: k2 p2 k1 p2 k2 p1 k2 p2 k1 p2 k2
Row 5: as row 1
Row 6: : RT p2 k1 p2 X5 p2 k1 p2 RT
Row 7: as row 1
Row 8: as row 4
Left Mitt
CO 37. Work Fisherman's Rib pattern for 11 rows.
Next row ( = wrong side) : k2 sl1 wyif k1fb *sl 1 wyif k2* four times, work 1st row of cable pattern, k2
Now work as follows:
Right side rows: p2, work next row of cable pattern *p2 k1* five times, p2
Wrong side rows: k2 *sl1 wyif k2* five times, work next row of cable pattern, k2
On row 5 of the second repetition of the cable pattern and row 4 of the third repetition of the cable pattern k1fb instead of k1 on the first and last stitches of the row. After this there should be 42 stitches. Work the extra stitches in reverse stocking stitch (i.e. knit on wrong side, purl on right side).
Repeat the cable pattern five times, then work rows 1 to 7 once more.
Now work in Fisherman's Rib for 9 rows, ending on a right side row. Bind off on wrong side.
Right Mitt
CO 37. Work Fisherman's Rib pattern for 11 rows.
Next row ( = wrong side) : k2, work 1st row of cable pattern, *k2 sl1 wyif * four times, k1fb sl 1 wyif k2
Now work as follows:
Right side rows: p2, *k1 p2* five times, work next row of cable pattern, p2
Wrong side rows: k2 , work next row of cable pattern, *k2 sl1 wyif * five times, k2
On row 5 of the second repetition of the cable pattern and row 4 of the third repetition of the cable pattern k1fb instead of k1 on the first and last stitches of the row. After this there should be 42 stitches. Work the extra stitches in reverse stocking stitch (i.e. knit on wrong side, purl on right side.)
Repeat the cable pattern five times, then work rows 1 to 6 once more. Then work row 7, but with a k1fb instead of the first knit stitch.
Now work in Fisherman's Rib for 9 rows, ending on a right side row. Bind off on wrong side.
Thumbs (Make Two!)
CO 14 .
Row 1: p2 *k1 p2* to end
Row 2: k2 *sl1 wyif k2* to end
repeat these two rows until thumb measures 4cm (or longer if you have long thumbs, mine are a little stubby...)
Continue working in this pattern, but decrease two stitches on every wrong side row by working k2tog tbl at the start, and k2tog at the end of each wrong side row. Also ensure the edge stitch is always worked in reverse stocking stitch (i.e. purl the first and last stitches of the row even if the pattern says knit). Keep going until you have two stitches left, then bind off and weave in loose ends.
Sew up along the straight 4cm of the thumbs, then sew the slanted decrease edge of the thumb onto the mitts as you sew the mitts' side seams. See diagram:
Weave in loose ends and you're finished!